
Oralsnap Model
Creating a model
Every step, from the scan to the file you send to print.
Load the scan
- 1
Open Oralsnap Model
In Oralsnap Model you'll find “Load the scans”. Drag the files into the box, or press “choose from your computer”.
- 2
Choose the scanner files
STL, PLY or OBJ. One arch or both together: you don't need to say which is the upper. You need the raw scan, not a model that's already been worked on: if the file already has a base, the workbench tells you and doesn't build it by itself.
- 3
Let the system do it
In “Automatic”, the recommended mode, the system finds the edge, trims and builds the base by itself. If you want to draw the edge yourself, switch to “Manual” under “Adjustments”.
With two arches each one becomes its own model: at the top of the column you switch between them, and with “Second arch” you add one if you loaded only one. On a wide screen the other arch shows see-through: the button at the bottom left hides it or shows it again. “Start over” clears the workbench, deletes the work saved in the browser and goes back to the beginning.
On a phone the adjustments are in a sheet that slides up from the bottom: tap “Model and settings” to open it.
Drawing the edge by hand
In “Manual” the “Edge” section appears. You draw the edge yourself, clicking along the gum. If you switch to “Manual” after the system has already found the edge, its points stay and you drag them to correct it: the model is removed and rebuilt with “Build model”.
- 1
Choose where to start
Press “Pick the starting point” and click on the model where you want the edge to start.
- 2
Click along the gum
Each click adds a point. Dragging rotates the model, so you can reach the side you can't see too.
- 3
Close the line
Press “Close”. To build the model you need at least 8 points: if there are fewer, the workbench tells you.
- 4
Adjust and build
Drag the points to fix the line, then press “Build model”.
“Back” undoes the last thing you did: the tag you just placed, the clearing, the built model or the last point, reopening the line if it was closed. “Clear” deletes the edge and lets you start again.
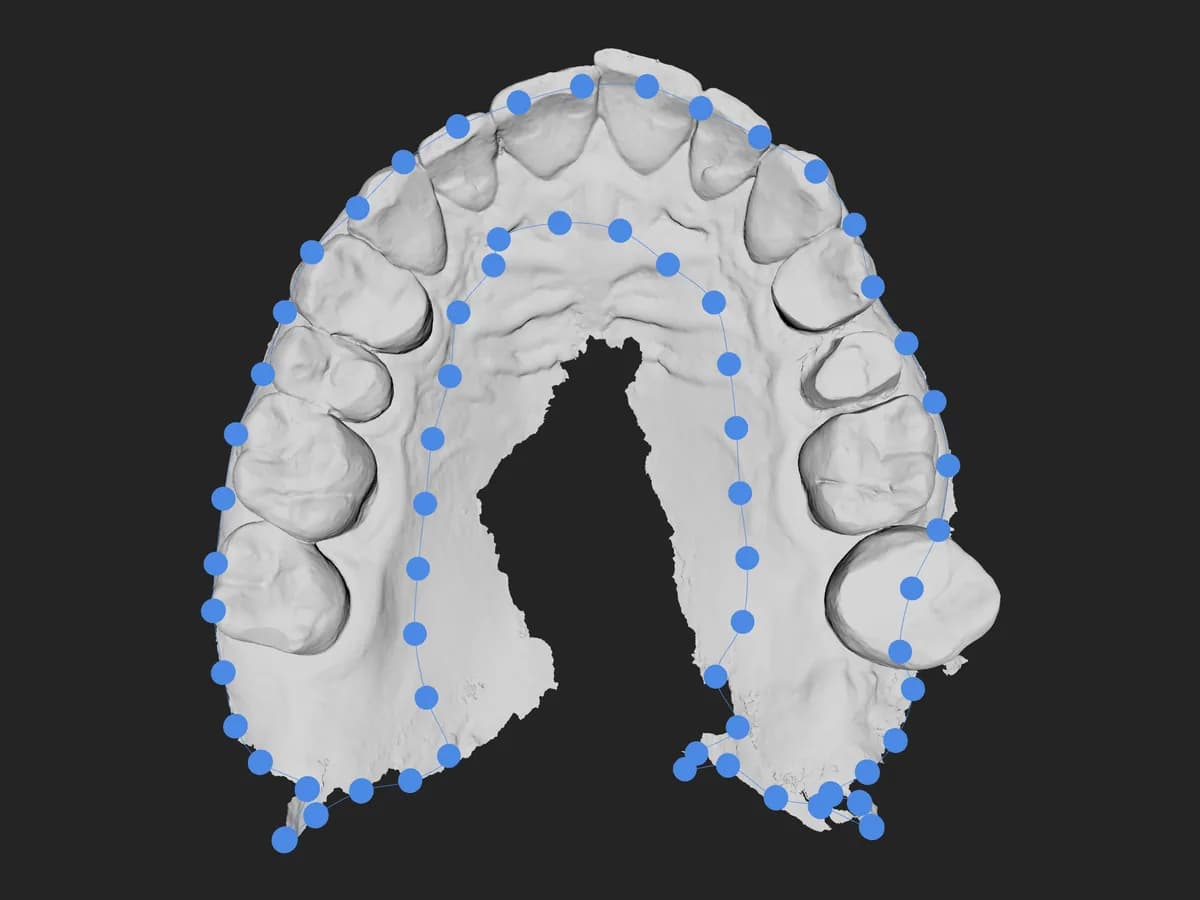
The model direction
The direction is set by how the scan is loaded. If the base grows inside the scan, meaning the model is upside down, press “Flip” in the “Model direction” section. If the arch isn't upside down but tilted, rotate the model until you see it from above the way it should sit and press “Take from the view”: that becomes the insertion direction.
Sometimes the workbench suggests “Flip”. Look at how the model came out first: if it's already right, don't flip it, or you'll ruin it.
Base and hollowing
In the “Adjustments” section you'll find the measurements that matter for printing. After changing a value, press “Rebuild” to remake the model.
| Adjustment | What it does | Values |
|---|---|---|
| “Base height” | How tall the base is below the edge. | from 1 to 12 mm, starting at 5 mm. If something is engraved on the base the minimum is 5 mm: with the free plan the logos are always there, so you start from 5. |
| “Taper” (only in “Manual”) | How much the base widens as it goes down, so the bottom is the widest part and there are no undercuts when printing. | from 0 to 10 degrees, starting at 2.5. |
| “Thickness” (with “Hollow”) | The wall thickness of the hollow model. | from 1.5 to 4 mm, starting at 2 mm. |
Under “Inside the model” choose “Solid” or “Hollow”. Hollow, the model becomes a shell of even thickness, closed underneath by a ring: same shape, much less resin. Two options appear below: “Drain holes”, small arched openings at the bottom of the base that let the resin left inside drain out, and “Honeycomb fill”, which fills the inside with cells. With honeycomb, the drain holes switch off.
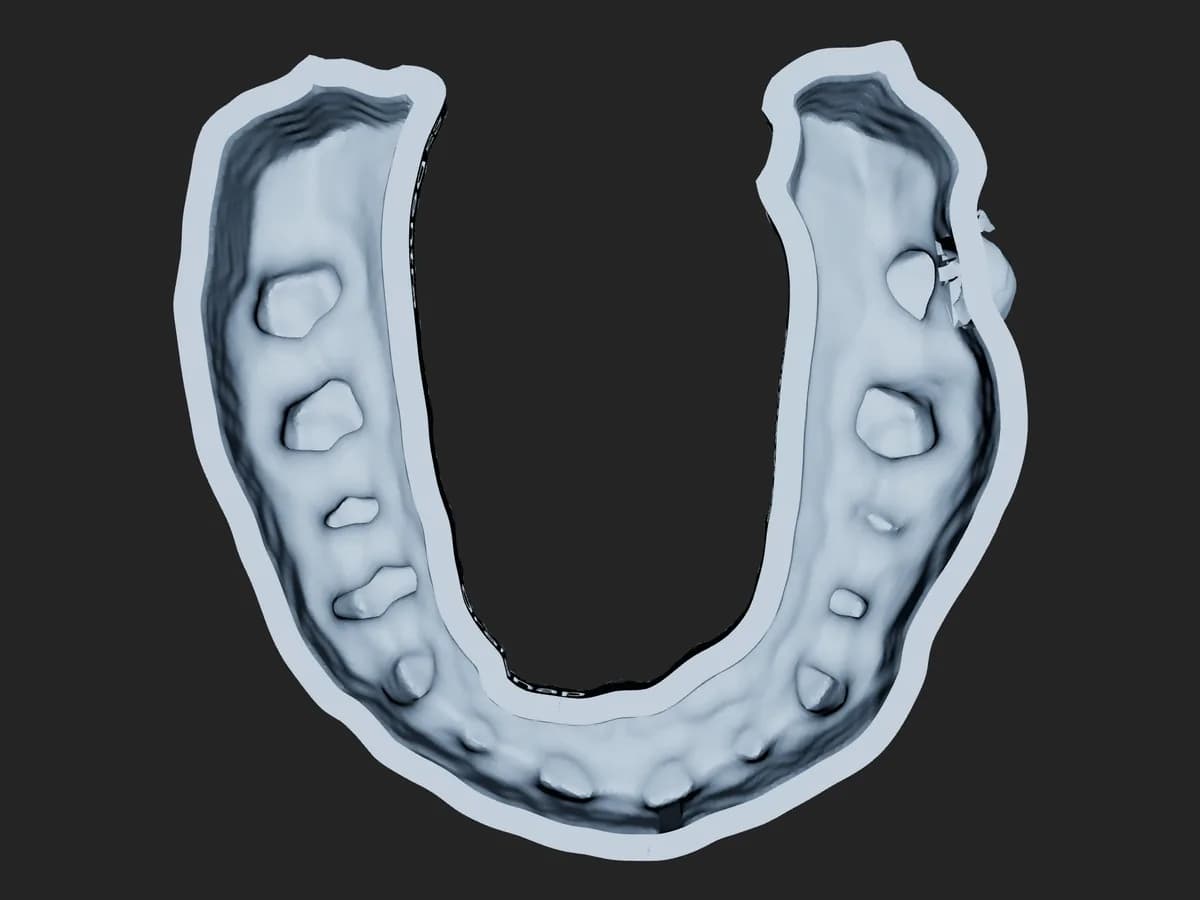
The NFC tag pocket
Once the model is built, the “Tag pocket” section appears: a pocket in the base for a 25 mm NFC tag, open underneath, so the tag slides in after printing. A different size won't fit: once the pocket is in the model, the workbench also shows you “Where to buy them”.
- 1
Pick the spot
Press “Pick the spot” and click on the model. The footprint turns light blue where there's enough material underneath.
- 2
Confirm
Press “Done”, then “Rebuild”: the pocket is cut into the base.
- 3
If you change your mind
Press “Remove”, then rebuild the model.
If the tag is left without support, “Export file” stops and says “The tag has nothing to sit on”: move the pocket to where the base is more solid and rebuild. You can also press “Export anyway”, but the tag would come out of the printer half in mid-air.
Engraving on the base
With the free plan the Dentra and Oralsnap logos are engraved on the base of every model. With an active Oralsnap plan you choose in the “Engraving on the base” section: by default nothing is engraved, and you can switch the logos on with “Engrave the Dentra and Oralsnap logos” or type a name.
- “Name to engrave”: up to 24 characters, for example a surname and the year.
- “Letter height”: from 1.5 to 6 mm.
- “Where, along the wall”: from 0 (left) to 1 (right); 0.5 is the front.
Name and logos are engraved on the same wall, so they can't coexist: entering a name switches the logos off, and the drain holes too. If you switch the holes back on, the name is removed.
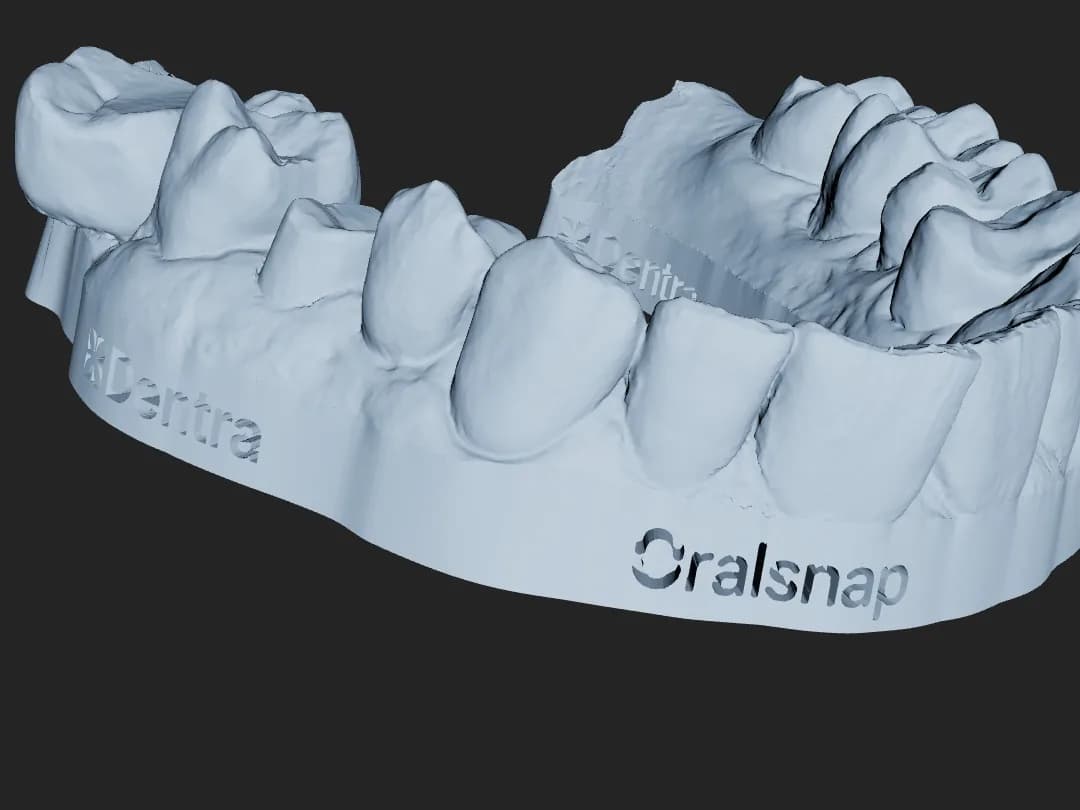
The result and the warnings
In the “Result” panel the first line answers the question that matters: “Ready to print”, with a green dot, or “Check before printing”, with a yellow dot. “Details” shows the numbers: triangles, volume, how much you save by hollowing and whether the model is closed. With the yellow dot the model isn't fully closed: the file still downloads, but check it in your printer's software before printing, and if something looks wrong press “Report a problem”.
Below, when needed, the warnings appear. Each one says what happened and how to fix it:
- The trim split the model and only the largest piece is left: usually the direction is wrong (“Flip” is right there) or the edge crosses a narrow spot and needs to be redrawn wider.
- The base was raised to the minimum the engraving needs, or it came out lower because anatomy still goes down below the edge.
- Asked for hollow, came out solid: the file can be printed but it's heavier. Try a thinner wall or a taller base.
- The name was moved or made smaller to fit, or it didn't fit.
- The tag pocket was placed but not cut: move it to a more solid part of the base.
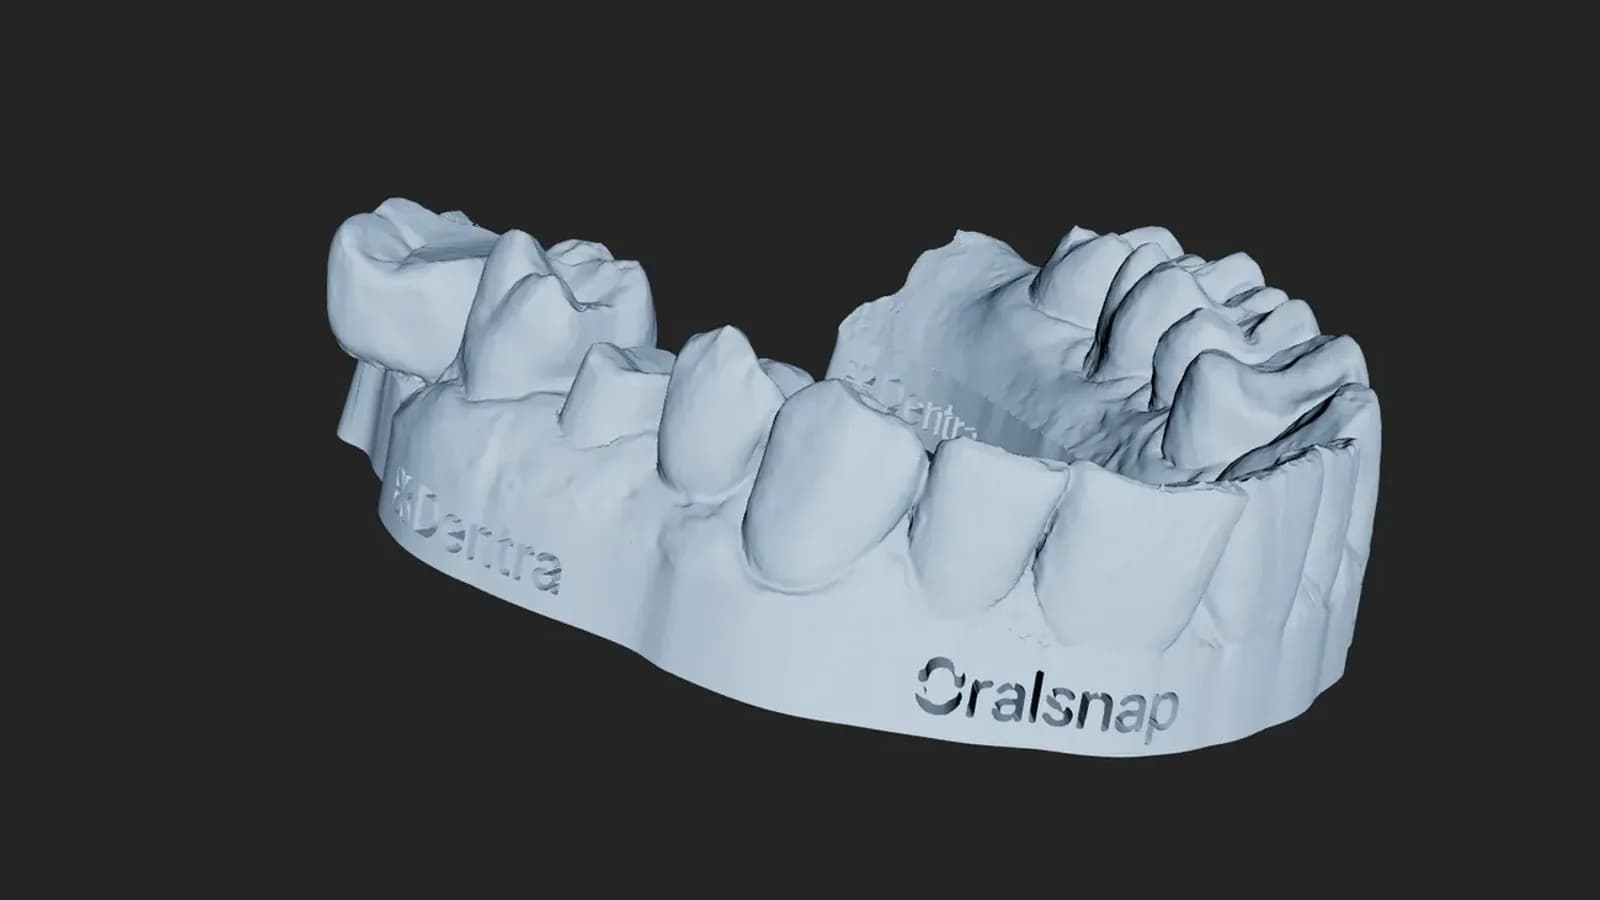
If the model doesn't come out
While the system works, the middle of the screen tells you where it's at, for example “Finding the edge…” or “Building the base…”. If the calculation doesn't finish, press “Stop”: the scan stays loaded, and you can change the adjustments or try again. When the model doesn't come out at all, the workbench tells you why:
- “Unrecognised format.” or “The scan has no valid triangles.”: the file can't be read. Export the scan from the scanner again, as STL, PLY or OBJ.
- “This file is already a model, not a scan…”: the file already has a flat base, so the system doesn't build it by itself. Load the raw scan.
- “Margin not found…” or “I couldn't find a closed edge…”: the system couldn't find the edge. Switch to “Manual” and draw it yourself.
- “The logos weren't engraved…”: with the free plan, there's no model without the logos. The system tries raising the base by itself, up to 12 mm; if that's not enough, the message tells you what to try, usually reducing the “Taper”, which you set in “Manual”.
Exporting and reporting a problem
Press “Export file”. You get an STL file sitting on the plate the way the printer wants it, checked and, where needed, closed up before it comes out; if the scan carries colour, the model keeps it and comes out as PLY. With two arches ready, “Export both” downloads the two separate files, one per arch. The file takes the scan's name, with “-modello” at the end. If your printer's software wants STL and the scan is in colour, export the scan from the scanner as STL and load that one.
If a model doesn't look right, press “Report a problem” below the result, write what's wrong (at least 10 characters) and press “Send”. Along with your note we receive the scan, the model, the edge line and the adjustments, because without them we can't recreate the case. The file name isn't sent, and neither is the name you engraved. You need an account.
Don't put patient names in the text of the report.